Gazebo Assembly Diagrams
Blueprints To Create Summerhouse - Identify Practical Strategies To Construct A Gazebo Speedily
Make sure you countersink the head of the screws, otherwise they will be visible. Adding a pergola in your backyard space brings convenience for you and generally adds a distinct warmth to your home. If the girders would slope, use seismic anchors, as shown above. However, it's critical to note that the choice of building materials would significantly depend on your budget, maintenance and also their lifespan. When it ages, it becomes silvery grey. Read the local building (https://pergoladrafts.com/8-feet-octagon-gazebo-plans-blueprints) codes for finding the right depth of the footings. Now what we've done for the front line or front edge of our summerhouse -use this piece of two by two.
Work your way around, securing the boards to both the main and middle rafters. Connect the edging, leaving no gaps between the pieces. Come upon one in the middle of a garden or tucked into a remote corner of a yard, and you can't help but stroll toward it. Nevertheless, you have to remember that it is possible to adjust its dimensions to fit your needs, while using the same carpentry methods. This project was made from rock, stone colored bricks, and redwood. This is best practice with any deck project. Fill in the leftover space between your hot tub pad and the summerhouse walls with decorative landscaping rock to give the structure a luxurious outdoor feel.
Once you have begun building your decking frame, you should understand the height of your structure and where it needs to fix to your outside wall. Leave no gaps between the components for a professional result. Don't forget (visit this site right here) to countersink the head of the screws. This can create a beautiful pop of color in your garden as well as beautiful scents. Once you decide how far apart to space the rafters, you'll have to do a little math to figure out how many 2x6s to get. It's recommended column be set 3 feet deep in concrete and 15 inches in diameter is ideal post measurement for making it strong enough to take the load of your design.
Procesando video...
It not only gives a beautiful finished look to the piece, but also eliminates the need for costly and unsightly hardware used to attach planks together. Check if the main joists are perpendicular, with a carpentry square. Is resistant to rot and pests and has a tight grain. Therefore, you could make it larger or even choose to craft a rectangular pergola. Then, lift your inner joists in the center of your pergola and drop in your center block. Also i'm sure i know the answer but let me ask. The base would have mirrored support connecting it to the table and the floor joists.
Slip the next roof panel into the slots at the top of the posts on the opposite side and lag-screw it to the king post. As the concrete dries, it will be necessary to use some type of support system in order to hold the supports up. The rear supports are acting as counter weights, which is the third connection point. Work from the outside in and ensure all seams are covered all the way around your roof. All of the dimensions are given except for that. Use warm water, mild soap and a soft-bristle brush, then rinse with a hose.
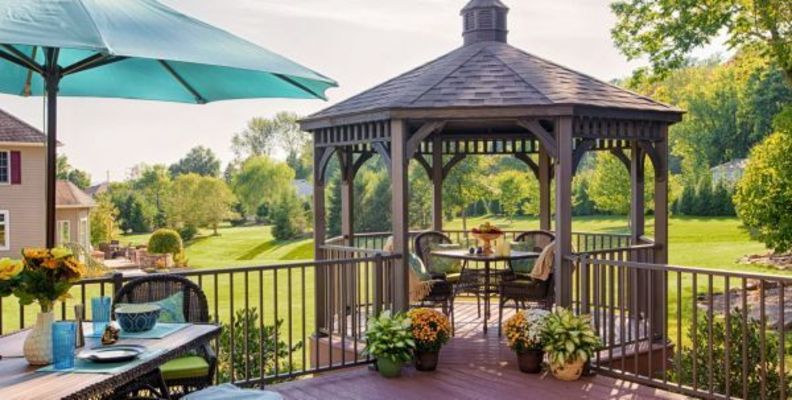
A garden gazebo not only adds structure and style to your backyard, it would help add value to your home. As a side note, there is compacted clay in the bottom of these holes, but you may want to add crushed rock or something similar as a foundation. That should do the trick for your high winds. Usually made of wood, plastic or composite materials, they have a shingle, shake or metal roof with a floor, and are anchored in place to withstand wind and weather. Buildeazy accepts no responsibility for any injury to any person occurring while using or undertaking this project or any other Buildeazy project, either directly or indirectly.
Once the traverse is right in place, fix it to the supports with long screws. The eaves sit atop the support beams. Next, decide on the purpose of the space and the activities you'll enjoy there. You can choose a pavilion to keep away from rain or sun and still be open to the sky above. Finally, install intermediate joists between the outer rim and inner octagon. If you're measurements are exact, then you could skip to the next step. Prepare these joints by making multiple cuts with a circular saw every quarter-inch or so, then knocking out the remaining chunks of wood using a mallet and chisel.