Gazebo Assembly Diagrams
Diagrams To Craft 14 Feet Summerhouse - Proper Steps to Build a Garden Summerhouse
As for the covering, there are plenty of good materials, and very few of them are wood. Measure, mark then cut the tops with a circular saw. Again, the jigsaw can also be used to create decorative cuts on the end with ease. You don't really need the flashing in this protected area, but we included it to match the other gables. Repeat the above steps for the remaining three main beams. The type of lumber is not important either, as this template (https://pergoladrafts.com/garden-arbor-building-plans-blueprints-wooden) would be discarded once the posts have been concreted into the ground. Even with only half as much skill, it wouldn't take twice as long.
Make sure each beam is the same length and equidistant to the opposite side. Taper the bottom part of the overhang to increase headroom under the rafters. Even a very small patio will require more than 50 holes, and a more powerful drill will make that chore a lot easier. It's up to you to employ safe and proper construction methods and to obtain permits as required by the local powers that be. Check out this very detailed tutorial complete with lots of great tips on how to build your own pavilion on thehomesteadingboards. Scoop the concrete into the hole and use a stick to pack it in around the post.
Be sure to check out local zoning regulations, as a permit will be necessary for permanent structures. Add support by nailing a 2-by-2-inch bond timber to the inside of each double stringer, flush (investigate this site) with the bottom. This is a temporary solution, which we will alter when finishing the decking. Then it happens, the total slams into view. Ensure that the eaves are well spaced in an even manner. Without solid walls or roof, a arbor defines an outdoor space by placing you both inside and out at the same time. We used 4 inch screws to attach the wood to the frame.
Procesando video...
Follow the building codes and use quality materials, if you want to get a professional result. We made sure the measurements between the front and rear headers were the same there as at the ends, and that the header wasn't bowed, before securing it into position. Now the support blocks can be removed. We actually did not use her tutorial for our project but the end result does look very similar. As with the felt, installation begins at the lowest part and progresses up towards the peak. You may prefer decorative handcrafted trim, fascia, screening, a natural wood-stain finish or classic white paint.
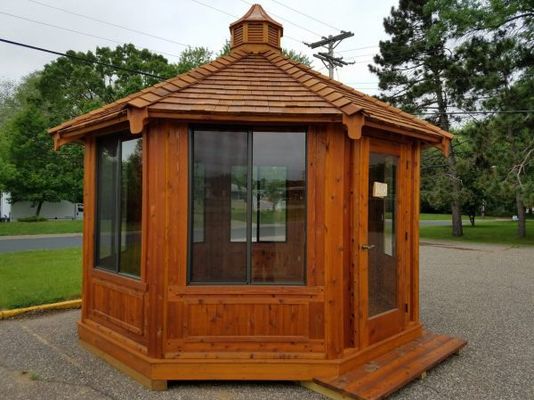
This small pavilion has a gable roof, so it can create a nice shade during the summer and protect it from the elements during the rest of the seasons. If you have stained or painted the structure's pieces prior to assembly, touch them up. Swing a tape measure hooked on the spikes and spray-paint arcs to mark the actual face of the wall and edge of the patio. Install the cut end flush with the outside edges of the shelf frame so they're hidden by the skirt board. A pergola with a solid roof, this one is covered in thatch, will provide the complete shade that is necessary in hot climates.
You simply stack them- you won't have to measure or cut a single block. Since this is the frame of the house make sure each piece is strong and sturdy. You could also research some potential design ideas to determine what kind of material and look you would go with. Make sure you are familiar with local building codes and are comfortable tackling the job before breaking ground. Line them up with the outside support lines you made on the two 2x4s you marked along with the top chords. With proper planning pergolas could make use of your space to create a transition area, preserving the open space at the same time.
Including the screws, nails, and other non-wood materials. Next, using a knife or a nail mark the position of the post on the wall. It's also a good idea to have a contract, specifying details like how connections are to be made, depth of footers, size and spacing of headers and joists, etc. Cant wait to get started this weekend. Always remember to treat any sawn ends, as these will be particularly susceptible to weathering. It is essential to plumb the crossbeams with a spirit level, therefore pay attention to this step if you want to get a professional result.
Ensure pergola posts are plumb with a support level.