Gazebo Assembly Diagrams
Octagonal Gazebo Making Plans - Discover Truths To Build A Pavilion Promptly
Have rebar and anchor bolts or column bases on hand, as you must add them to the concrete while it is still wet. Coat the roof with at least two layers of roofing felt. They're about 4 years old now and still laying. The installation we very fast and we got the look we wanted. You will require around four to six bags for each hole. Now we're plumb or vertical in both directions. This gives a more secure connection, and is less likely (https://pergoladrafts.com/hexagonal-gazebo-plans-blueprints-summerhouse) to split the wood than toe-nailing, and more likely to hold together despite repeated bouts of swinging.
Now using a metal drill bit, drill and countersink screw holes for mounting screws. Installing the lattice The next step of the project is to install lattice to the sides of the patio pergola, between the wooden posts. The side walls have the slope shape built into the top of them onto which the roof is lifted. In addition, secure the door into place with hinges, so you can open and close it easily. This is one step where having a clamp or two is helpful. We would discuss the various materials further in this guide. Now you have to fix to the wood traverse a side traverse.
Fit braces to the L-shaped gazebo if you live in a windy area. If you don't have a level area, grade the area by removing soil. They are also a better option for those (click here to discover) with a limited budget for they are cheaper and affordable. It comes with a limited warranty for most residential applications and, to top it off, it costs less than alternatives such as tropical hardwoods and artificial wood. Falling from a ladder is serious and kills many professional workers each year. Remember to check that the post is plumb using a three foot level, as you go.
Procesando video...
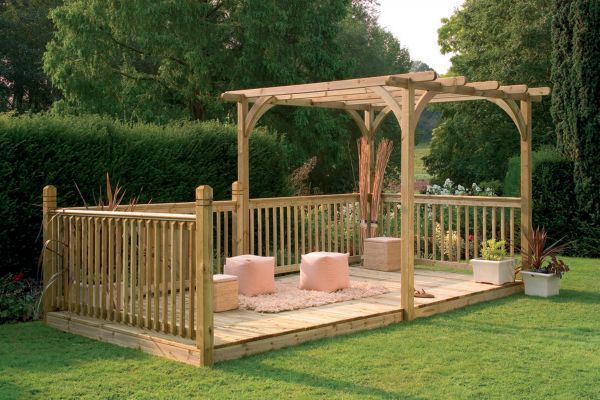
The decorative detailing adds punch to the simple design, and it's not difficult to achieve. The beams are used for supporting the eaves and carrying away the load to the ground via the posts. Make sure the corners are right angled. A simplified version of a wooden summerhouse with a small platform, a cute gabled roof and some basic furniture would do the trick. Swimming pool lights installed in the floor could provide uplighting that bolsters the gazebo's role as a garden feature, as could exterior lighting. Sitting in the shade and watching them play will make all of your hard effort worthwhile.
Invest in quality and durable lumber, such as cedar, pine or cedar. Ensure that the diameter of the support holes is twice the width of your pillars. It provides space for you to relax and enjoy the outdoors, in a lovely structure. The climbing vines provide shade, privacy and also create a visual link from your pavilion to your garden. The way we built it is pretty solid, but over time, lateral stresses from wind, kids hanging from it, and good old gravity can start to rack the structure. The first step is to lay the square on the end of the rafter board and locate 8 inches on the tongue, and 12 inches on the blade.
Moreover, use a jigsaw to make the curved cut to the braces and smooth the edges with 120-220 grit sandpaper. Begin the gazebo-building project by putting up the wall posts. The surrounding wall is made from modular concrete blocks. We painted ours, but it was time consuming. In the middle ages, frames and arches were in place in every mansion and important monument. Now temporary clamp the front joist to the seat column and align with measuring guides you clamped up. Using string along the face of the supports can help guide a square layout. If the structure wobbles, stabilize it with angled braces.
The idea is to have the outside foot or more of the slab thicker to support the weight of the structure. This was easy on the end-walls with no windows. Use rafter ties to secure the girders to the plates. Glad the instructable was useful to you. You can sketch it out on graph paper or your computer to get a sense of what it will look like. Mount each stringer to the gazebo frame with the framing anchor of your choice. Next, drive a stake into the ground about 4 feet away from each post. Repeat for three post positions on the other side.
Ask about permits and local codes, particularly the depth required for setting your posts.